
RUMBA+ Control Board

Aus3DSKU: RUMBA+

Price:
Sale price$149.95

Description

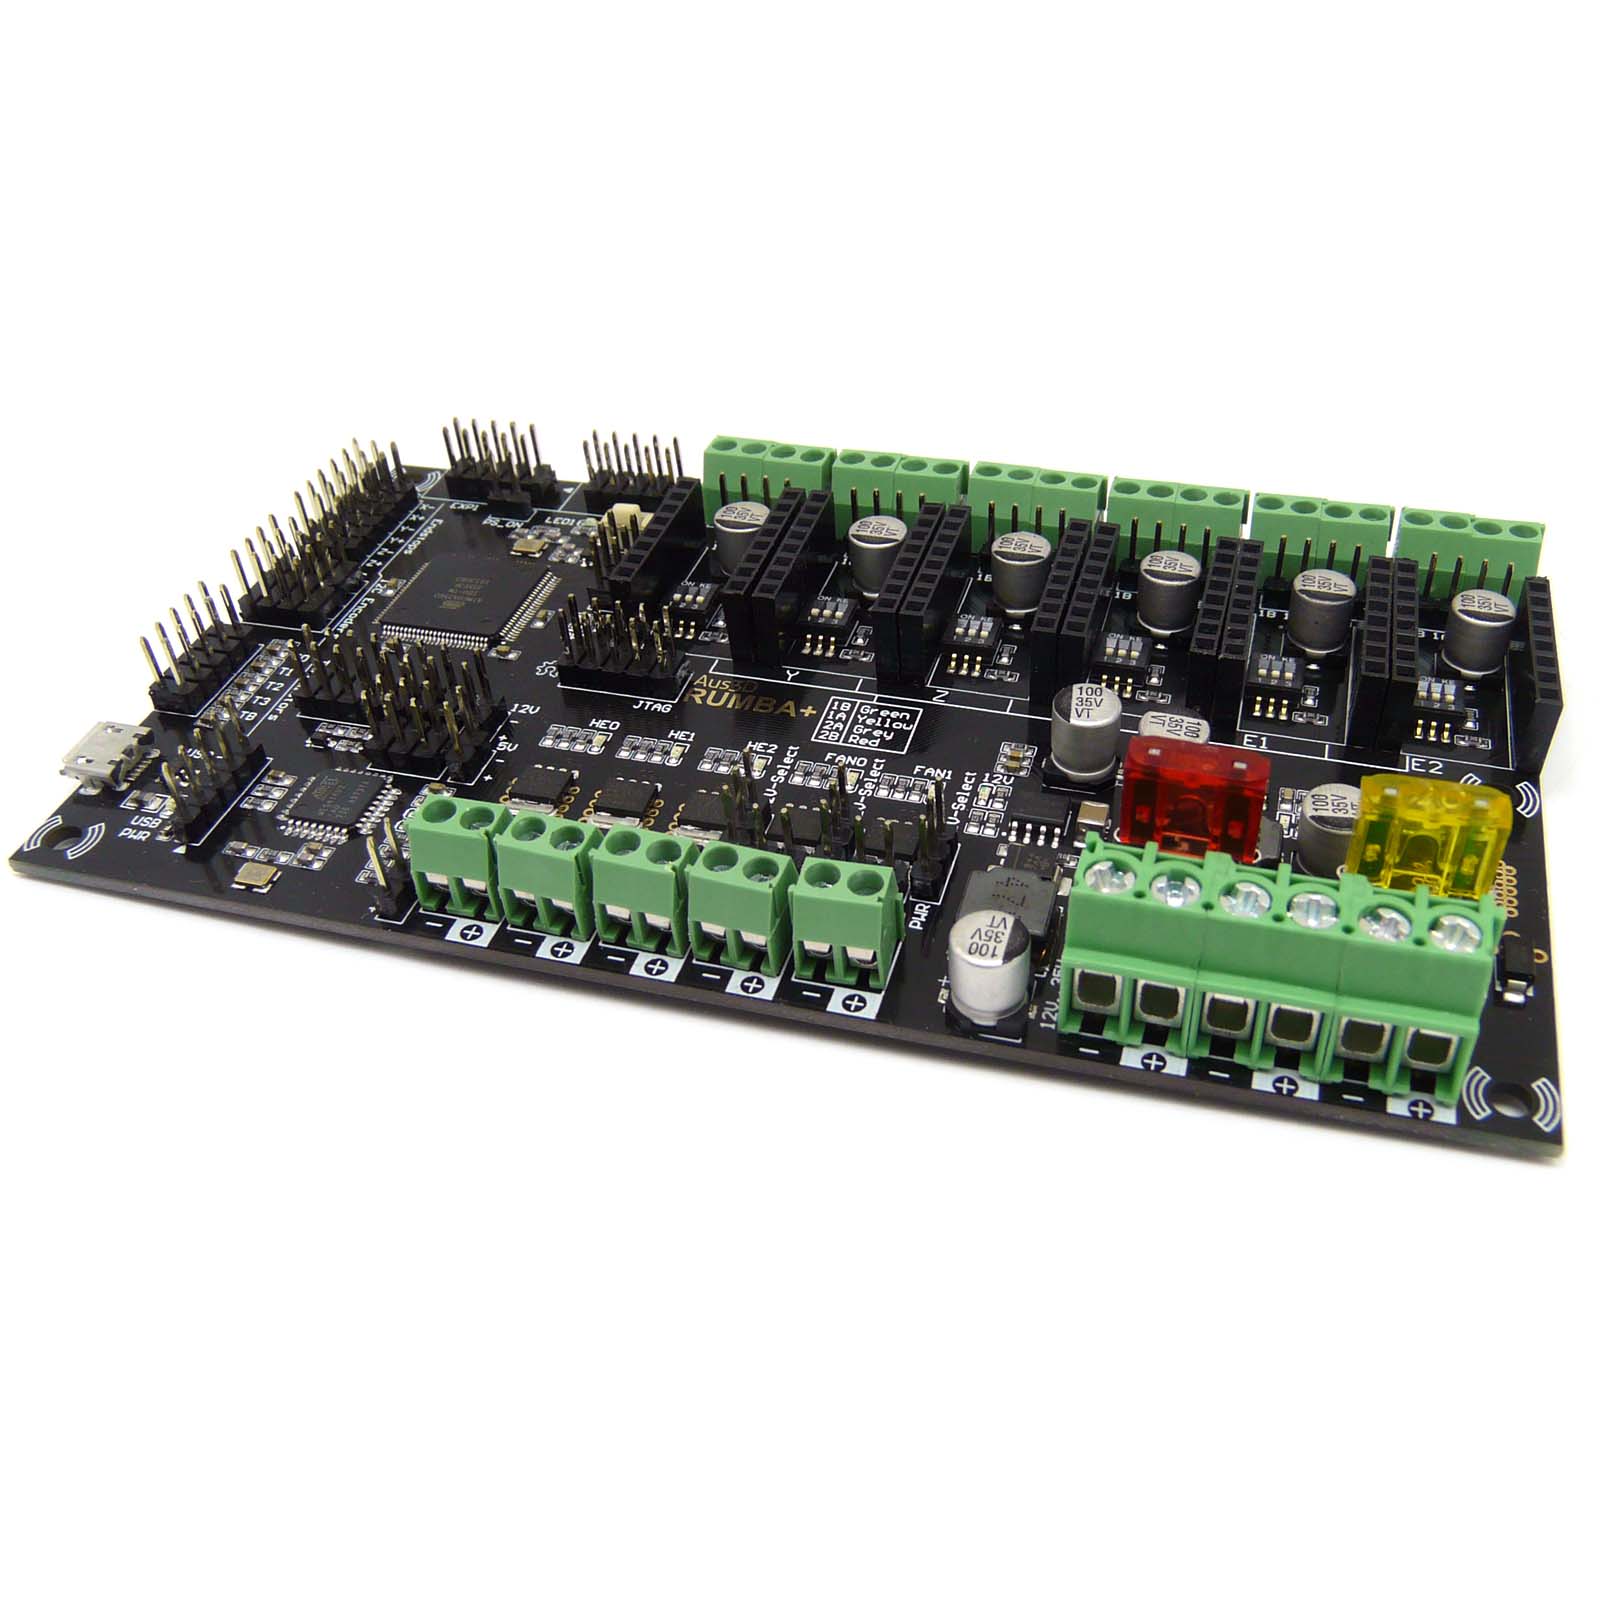
If you're looking for something to step up from an entry-level set of RAMPS electronics, then look no further!

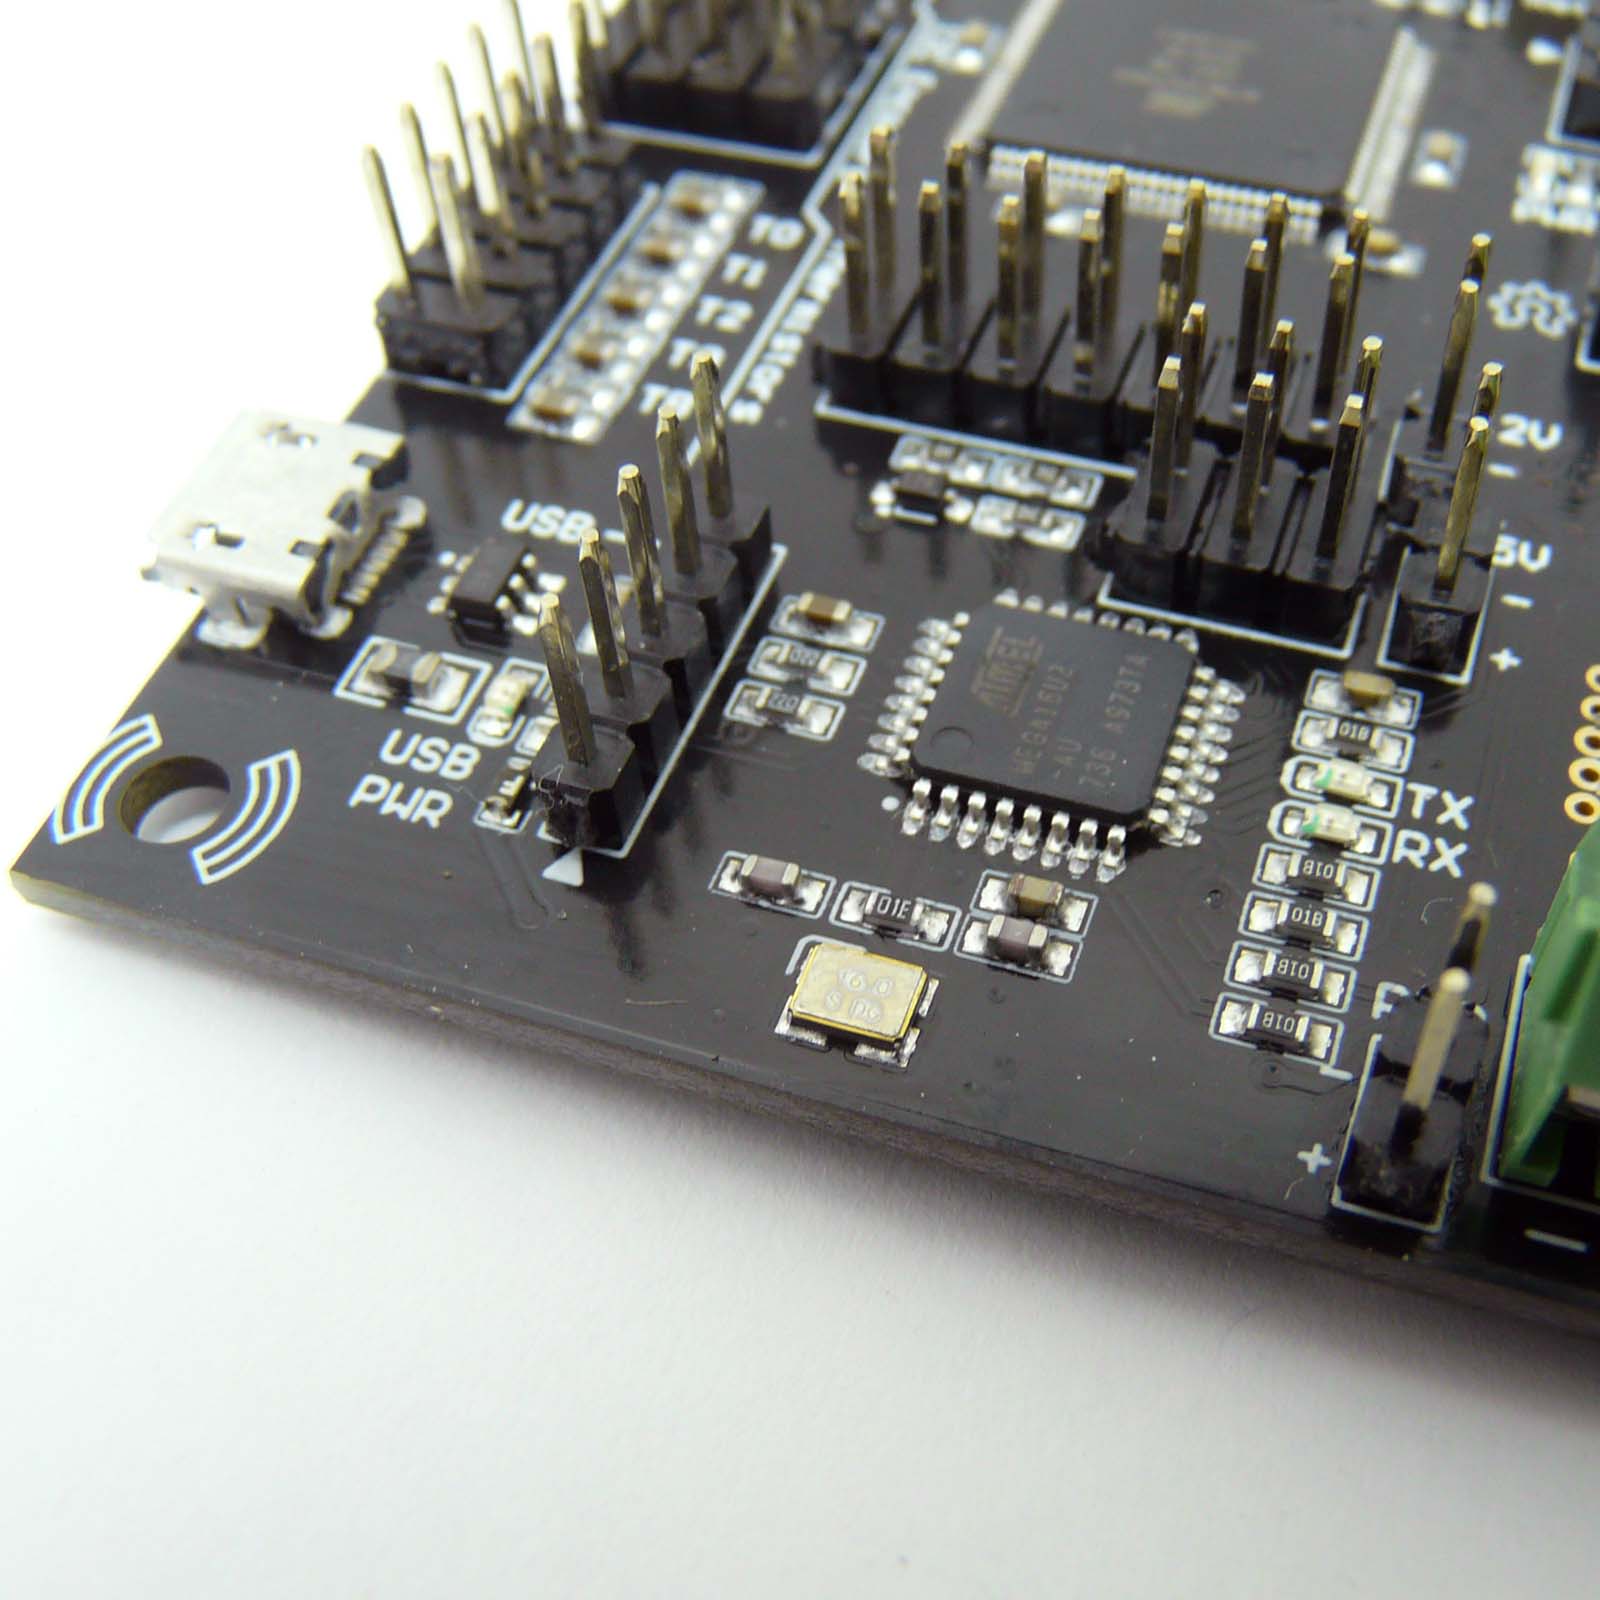
RUMBA+ is a premium printer control board by Aus3D. It is a high-quality 8-bit control board designed for maximum reliability.

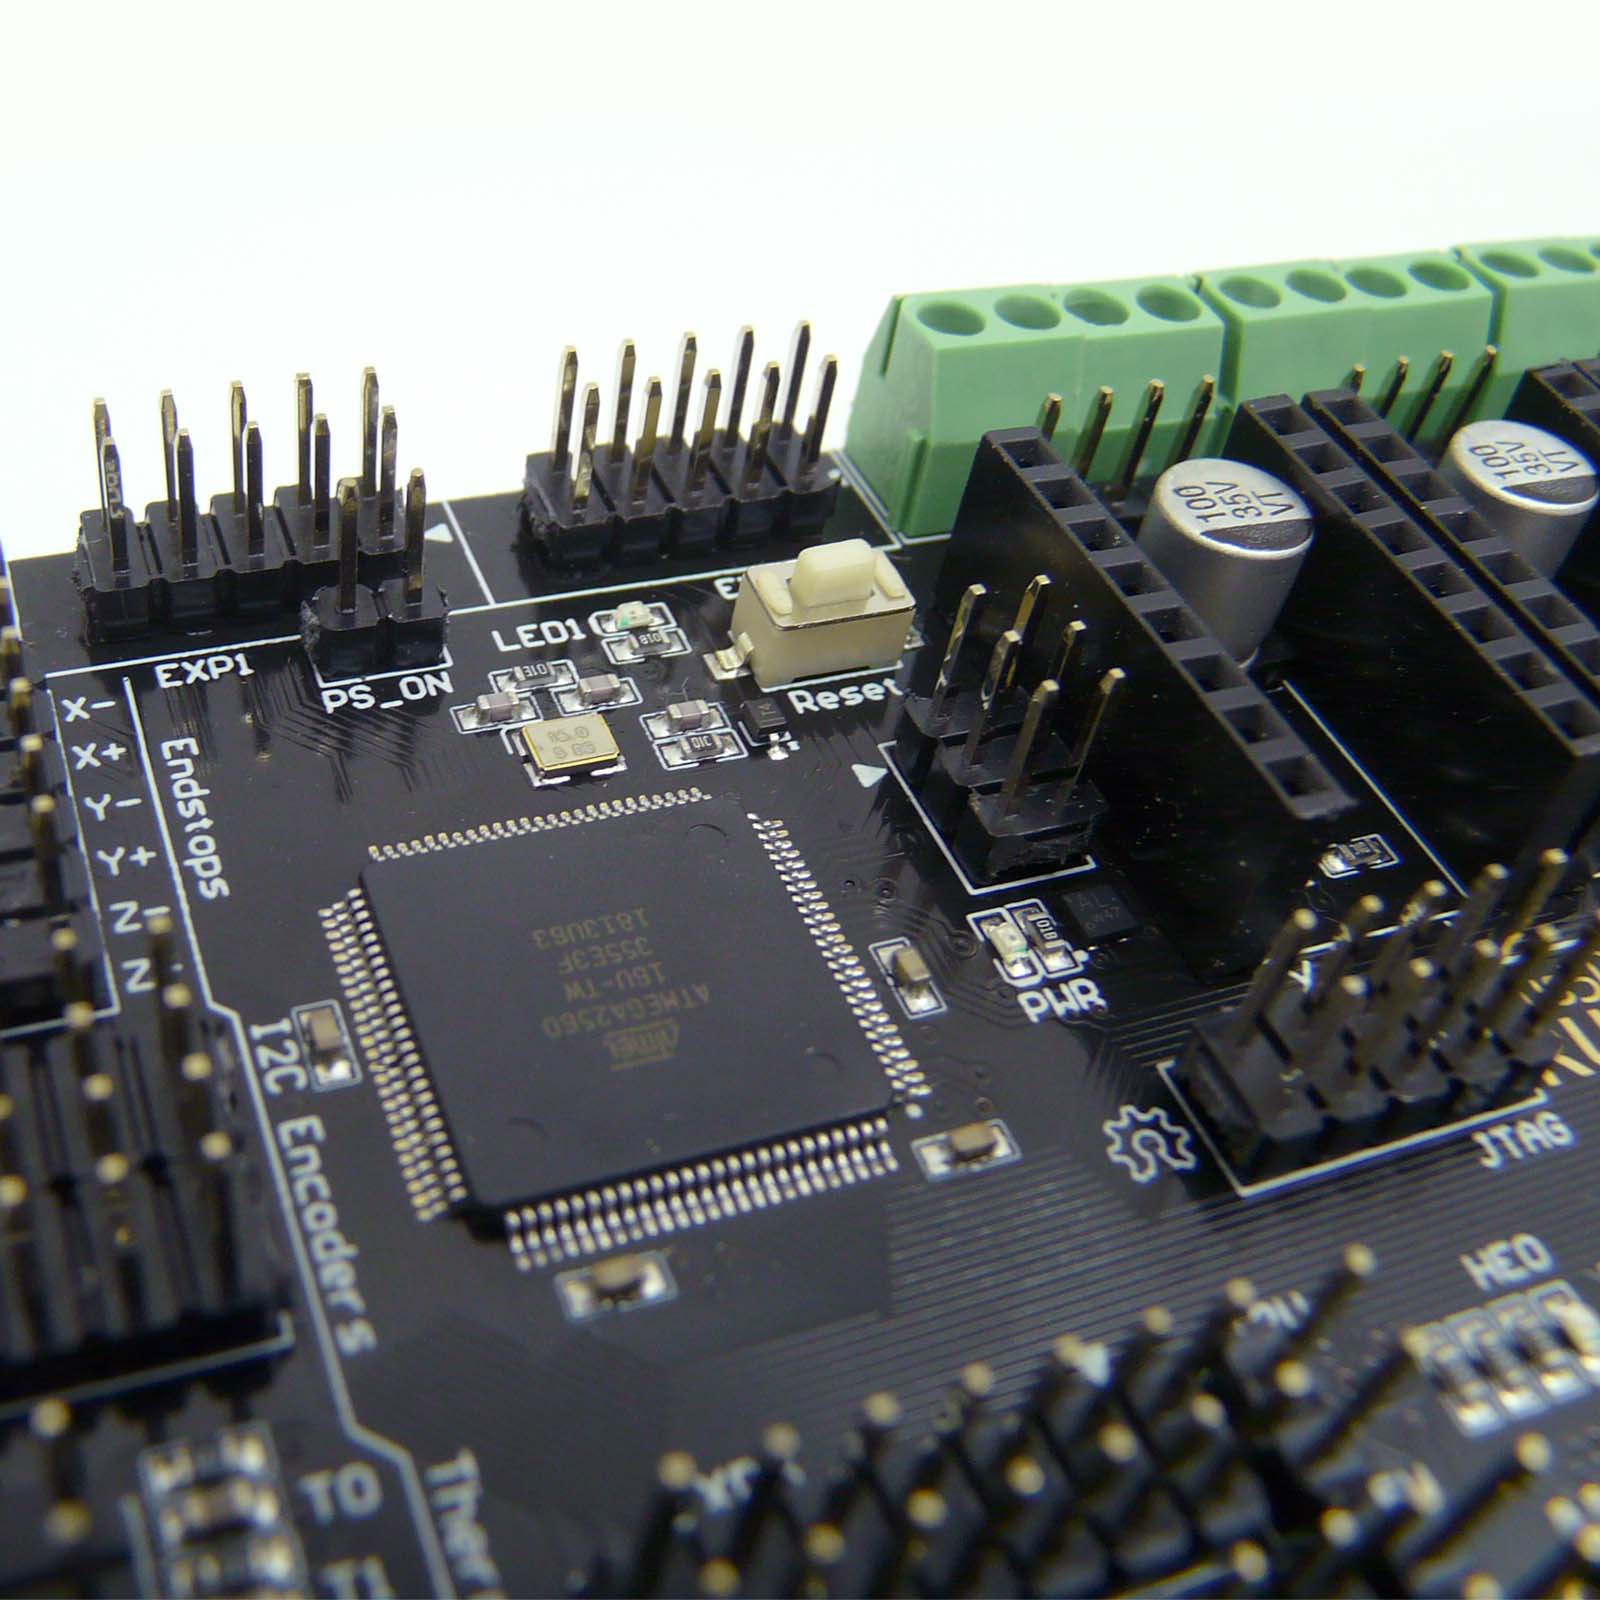
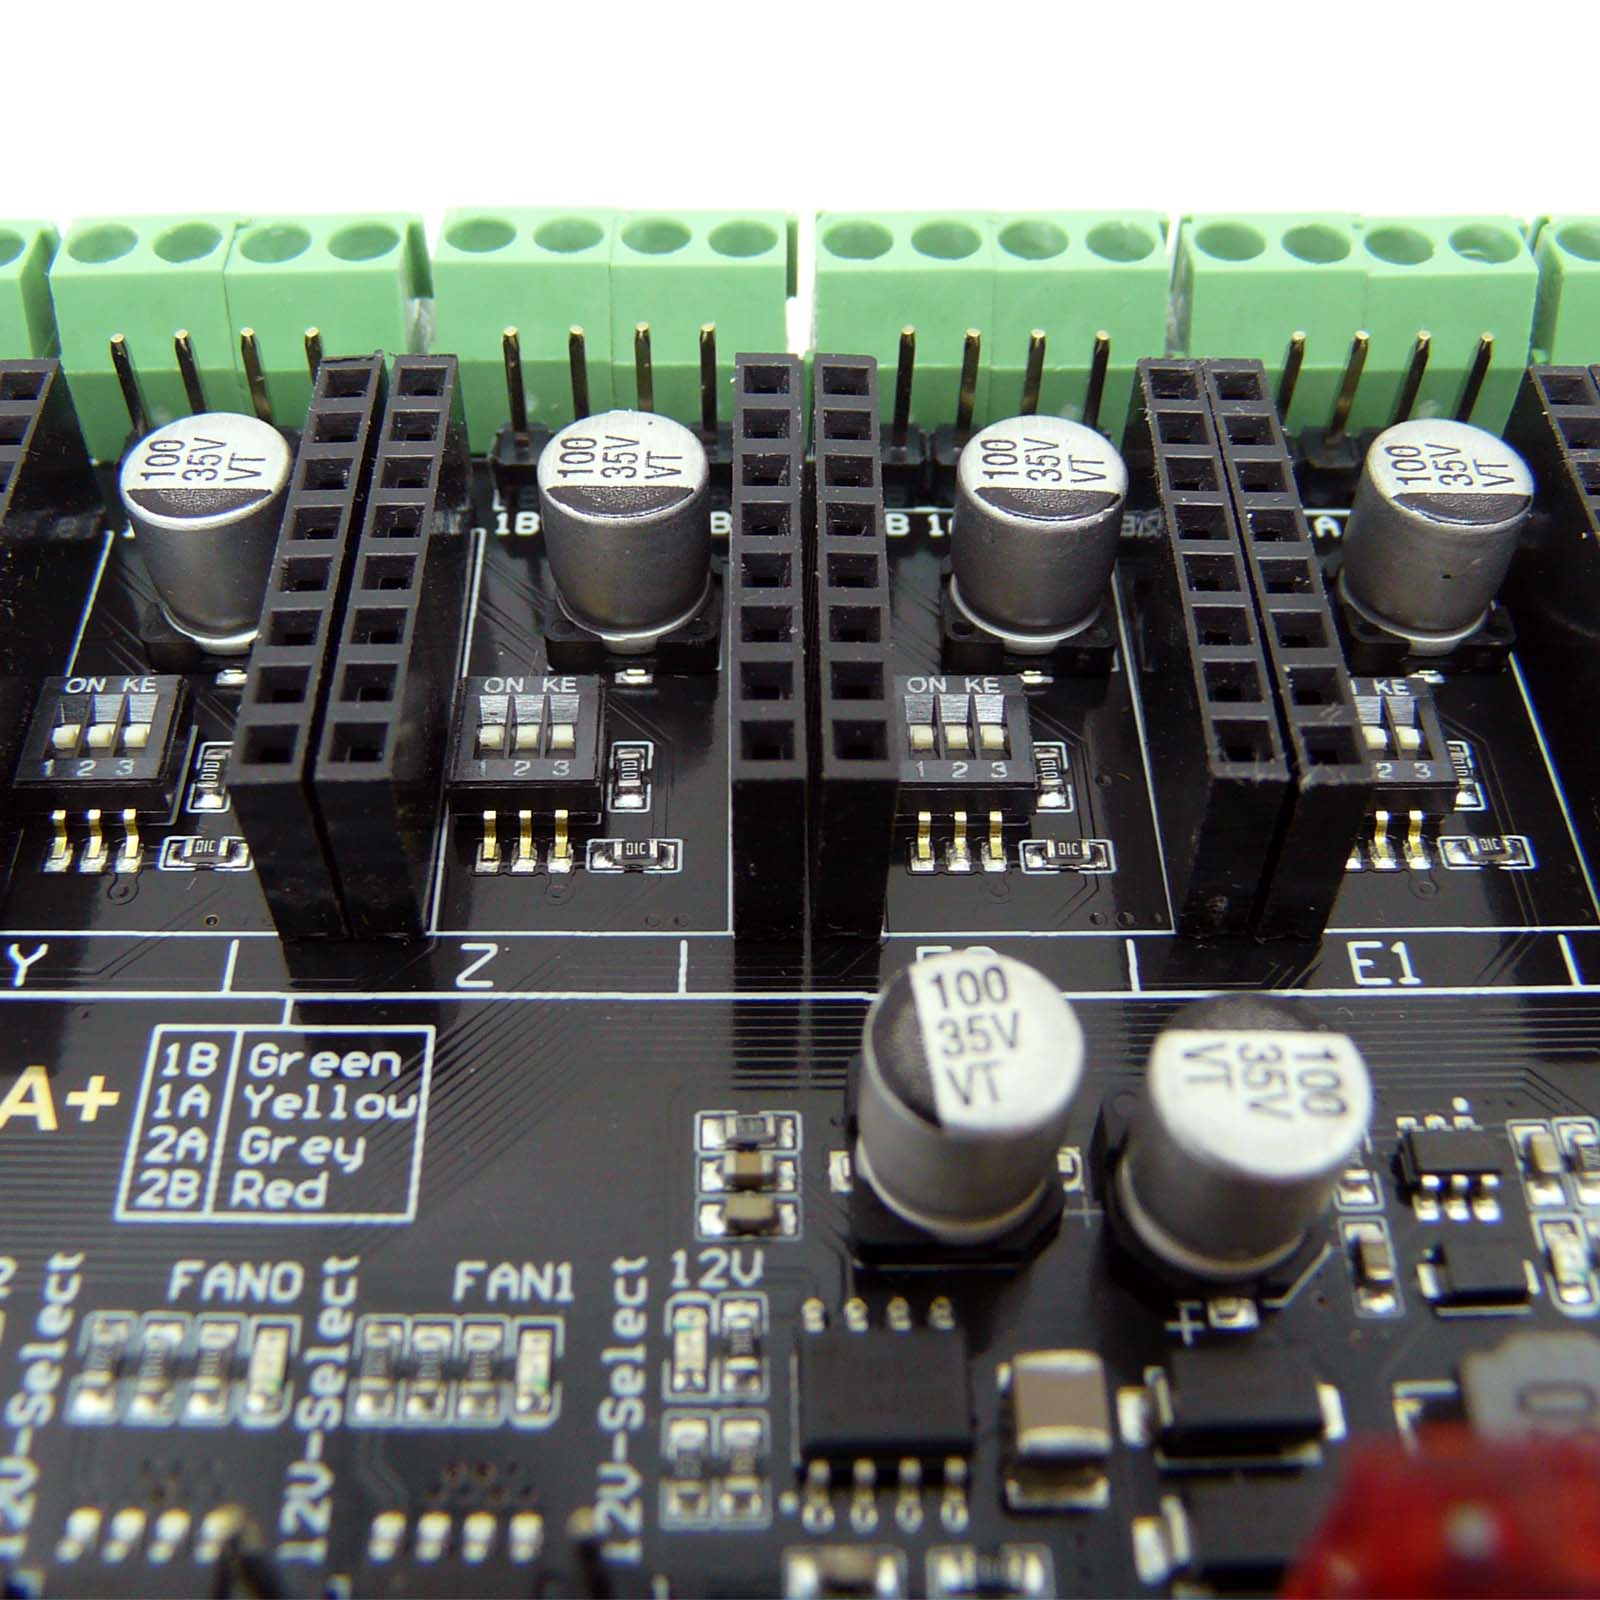
RUMBA control boards have long been a popular option - they're the ideal upgrade, combining the functionality of an Arduino Mega, RAMPS board, fan expansion, LCD adaptor and more all into the one compact form factor. Unlike some control boards that incorporate the easily-damaged stepper drivers into the main board, RUMBA still features replaceable stepper driver modules - so damaged modules can be easily and cheaply replaced, or upgraded with better options as they become available.

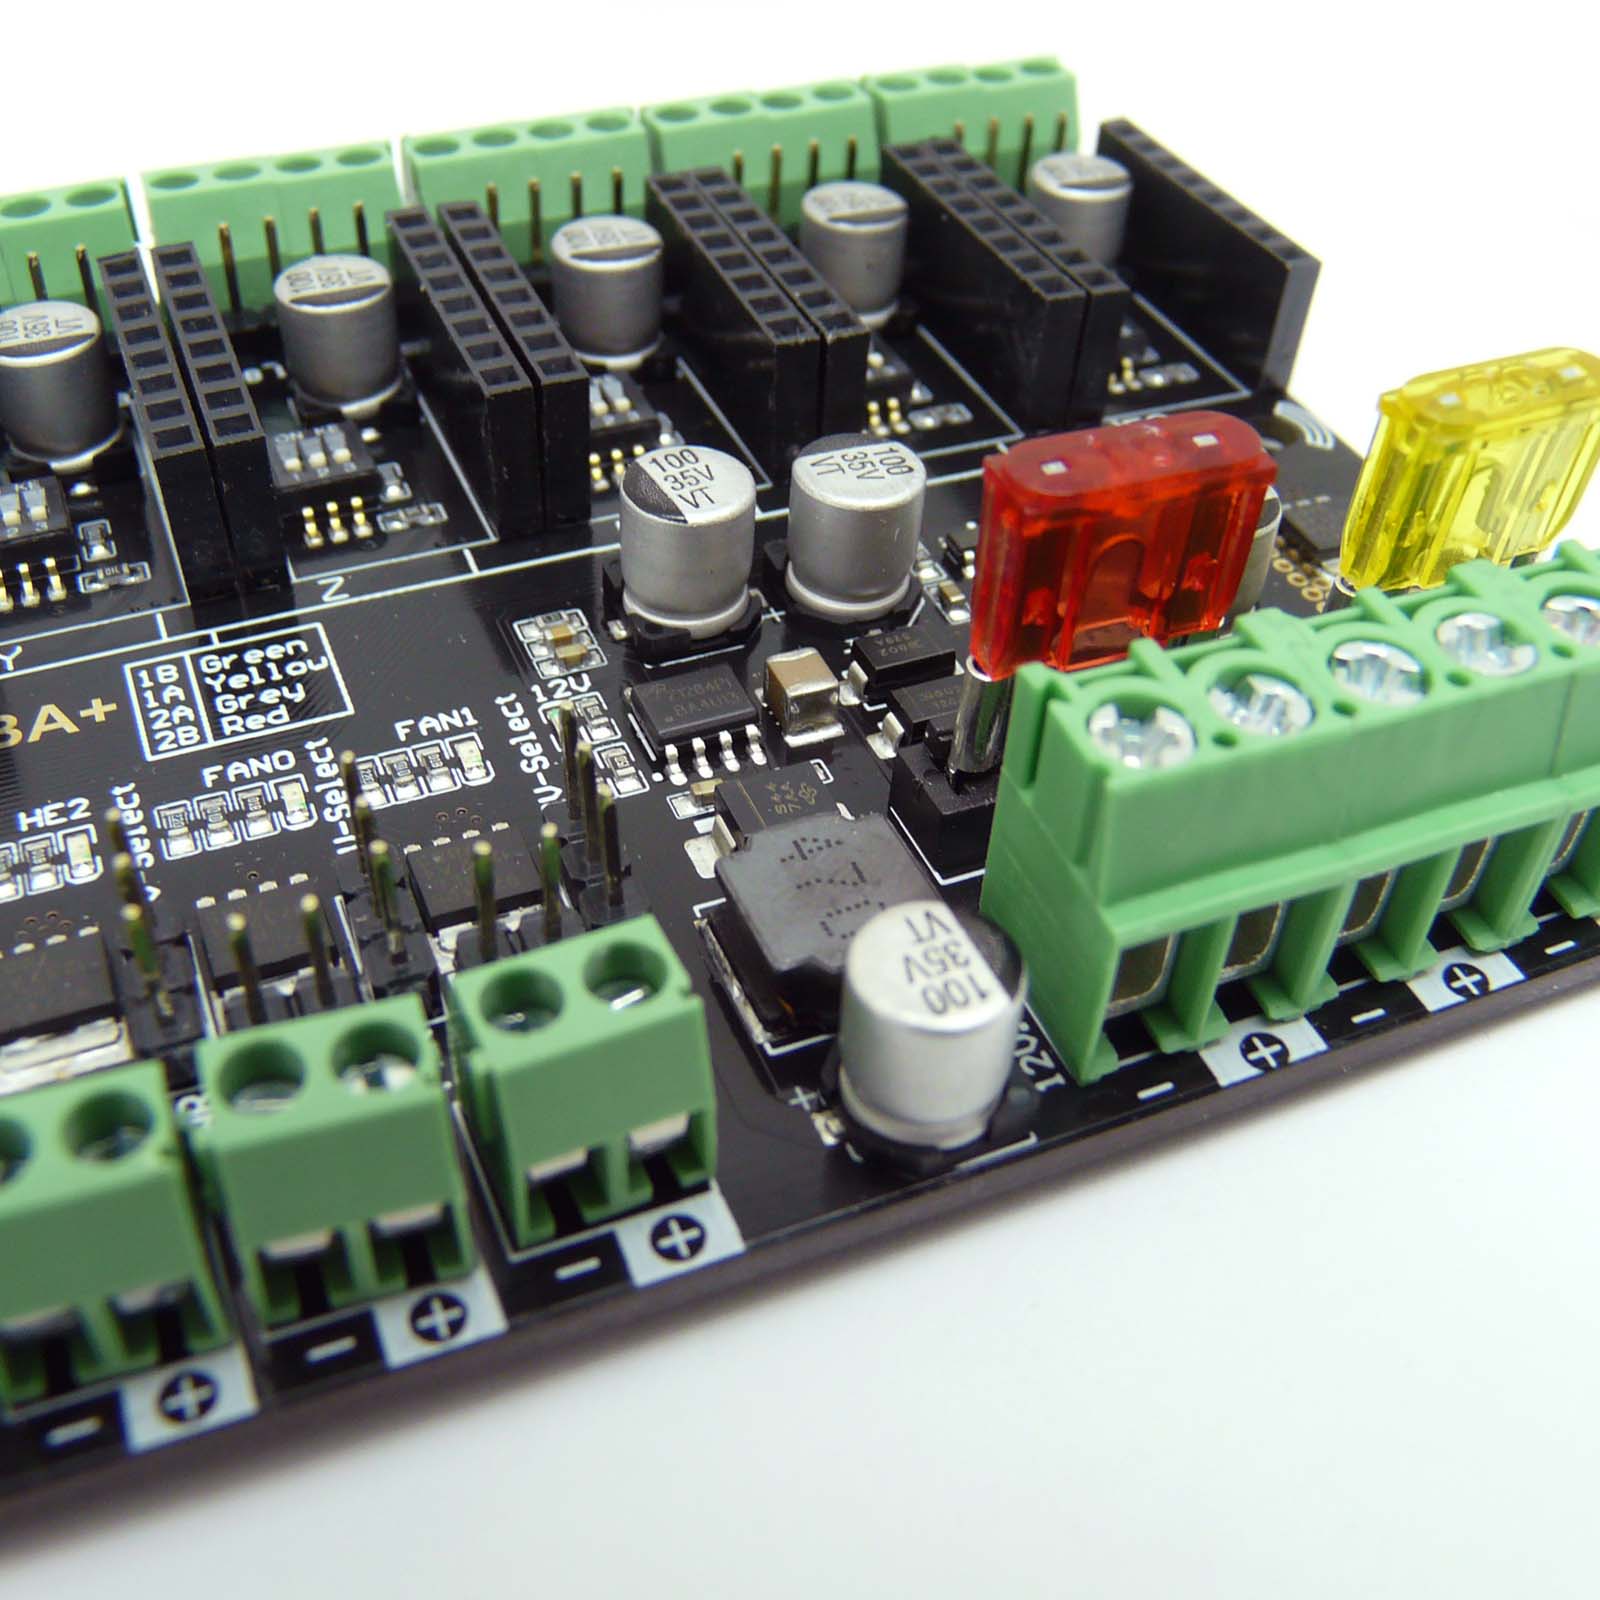
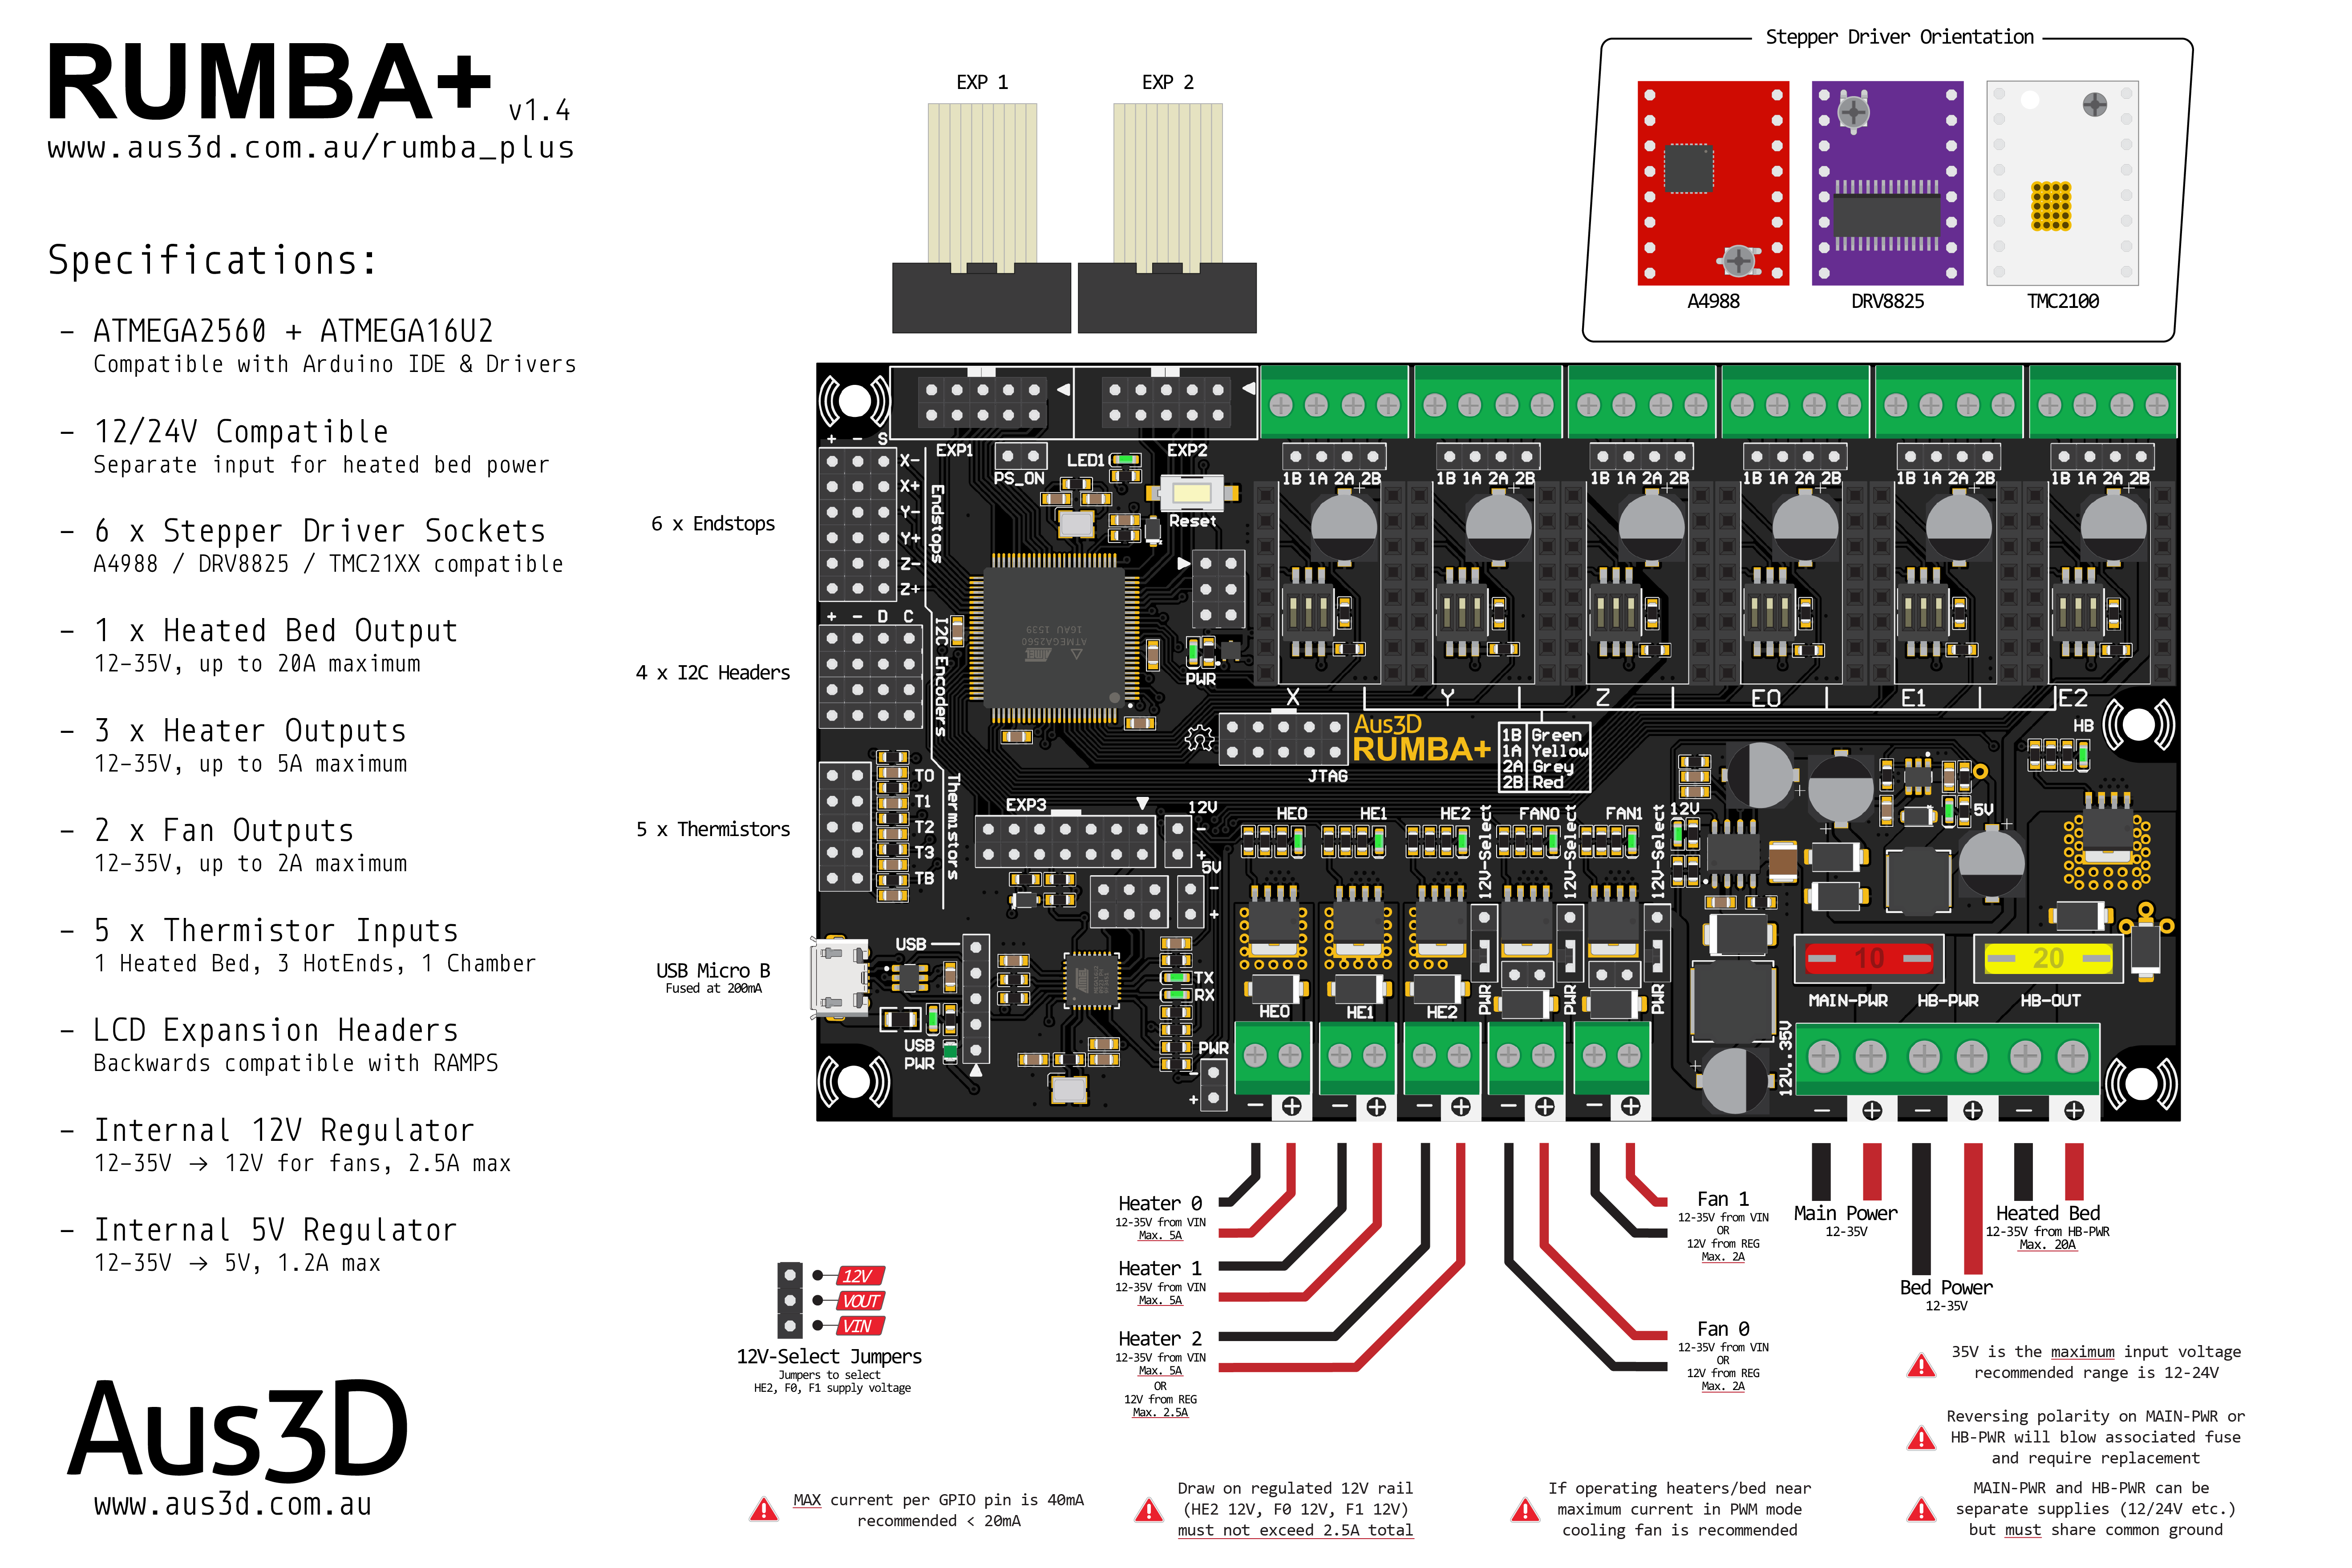
RUMBA supports up to six stepper drivers, which means triple-extruder or dual-Z dual-extruder builds are doable. Six MOSFET-driven outputs provide plenty of room for a heated bed, three hotends, and two independent fans - or any combination you'd like. Three of the outputs can be switched between the raw input voltage and a regulated 12V output, so 12V fans or heaters can be used with 24V power supplies.

RUMBA control boards are great, but we thought there were a few ways they could be better. We scoured the internet looking for every complaint, grievance, minor annoyance and critique we could find about RUMBA boards, and took this feedback on board to design our RUMBA+ boards! RUMBA was a good design to begin with but we wanted a real workhorse, something that is solid and dependable. We do a lot of printing, and we designed RUMBA+ to be a control board for our needs - something that, once set up, just works.

Resources

Specifications

  • Input Voltage (Recommended): 12-24V
  • Input Voltage (Limits): 6-35V
  • Stepper Drivers: 6 (Socketed StepStick)
  • MOSFET Outputs: 6
  • Maximum Bed Current: 20A
  • Maximum Heater Current: 5A
  • Thermistor Connections: 5
  • Endstop Connections: 6
  • 5 stars: 3 (75%)
  • 4 stars: 1 (25%)
  • 3 stars: 0 (0%)
  • 2 stars: 0 (0%)
  • 1 star: 0 (0%)
L
Luke

The build quality on this board is really great, everything is well put together and the layout makes a lot of sense. Replaced a RAMPS board in a few hours, flashed Marlin on and everything worked first go. Don't get too excited and forget to put the fuses in though. As one of the other reviews mentions this board is obviously not the same profile as a RAMPS board so don't expect to be able to screw it into place where a RAMPS once sat. The documentation for these boards is complete garbage though. There's jumpers all over the place with no documentation in sight - if you don't know how to read a circuit diagram you're going to have a hard time installing this thing. So, quality is great so long as you know what you're doing. This seems to be the best incarnation of the RUMBA board around, kudos Aus3d. Now write a wiring guide for it!

K
Keaton

Really solid and well designed board. I have really liked it so far, and it handles it's rated 32V just fine, which is really great. (Just be careful about drawing too much current from the onboard 12V regulator) Chris Barr was really helpful and gave a great explanation when I was doing the 32V conversion. That level of support is really rare and valuable. Thanks Chris!

B
Bob Harper

Instead of lots of added connections and stacking host and shields, This package provides better ventilation with easier access to motor and switch connections, and takes the Graphic LCD as a simple plugin providing display, rotary encoder and push button. almost ready to up and go.

J
Jeremy

Bought it to replace my RAMPS 1.4 board so I could switch to a 24v setup, very happy so far. Only using 4 of the stepper sockets and a fan/heater channel is spare, but it's nice to have the room to add more stuff in future if I ever need it. Had to drill new holes in my printer frame to mount the board, but I was going to have to do that with any new board anyway. At first I thought I had a dud because it wouldn't turn on, but then I realised I had to set the power selection jumper for USB. Reading the docs it's mentioned in there (doh), but it still gave me a scare at first. Maybe that info could be highlighted somewhere? Otherwise no issues so far, very happy with what seems to be a quality piece of kit.

You may also like

Recently viewed